ESP Game Machine

 Parts Included
- 1x NodeMcu V3 CH340 ESP8266 Microcontroller - The Computer
- 1x 0.96 inch SPI Serial OLED Display Module - 128x64 pixel Screen
- 1x 5-Channel Five Direction Navigation Button Module - Joystick
- 10x 10CM Male - Female Jumper Wires
- 1x Foam Tape Square
- 2x 170 Point Solderless Breadboard
- 1x Craft Cutting Board
Note: Kits are only available to pick up at HeatSync Labs in Mesa, AZ (108 W Main St, Mesa, AZ 85201). They will not be shipped.
If you would like to purchase a kit, you can use the Venmo QR Code provided to pay the $10. Your order will then be linked with your Venmo account and be available to pickup at HeatSync Labs within 3 days.
Step 1:
Open up Microcontroller and insert each side into its own breadboard.
Step 2:
Expose sticky foam pads on bottom of breadboards
Step 3:
Press breadboards to the wooden breadboard on the left side with the USB connector facing out the left hand side.
Step 4:
Open up the Joystick Module
Step 5:
Apply the foam square to the bottom of it. Stick the joystick module to the right side of the wooden breadboard with the pins facing up.
Step 6:
Open up the screen module
Step 7:
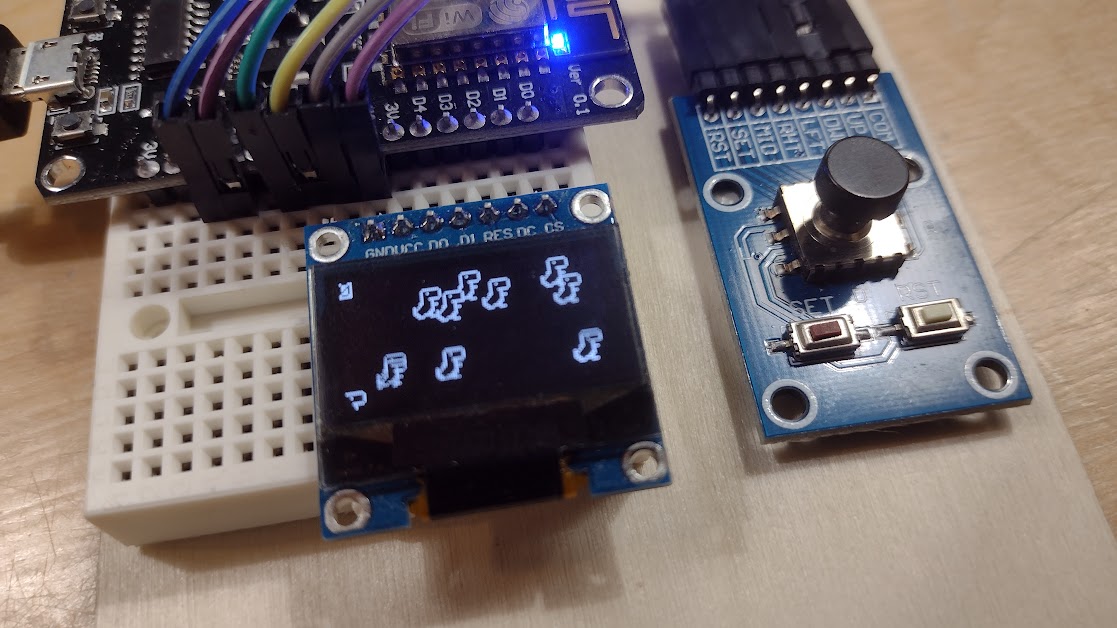
Put the screen module into the bottom breadboard with the leftmost pin (ground) lining up with the ground pin on the microcontroller. One pin on the right hand side of the breadboard will be empty.
Wire up the joystick to the microcontroller.
Pick one of the three buttons to go to TX
- RST -> TX
- SET -> TX
- MID -> TX
- RHT -> RX
- LFT -> D7
- DWN -> D6
- UP -> D5
- COM -> G
How to Configure the Arduino IDE for the ESP8266
Installing ESP8266 Board in Arduino IDEInstalling the Graphics Library for the SPI OLED Display
ESP8266 0.96 inch OLED Display with Arduino IDEGraphics Demo Configured for the ESP Game Machine
base.ino
